• Skip to main content
  • Skip to secondary navigation
  • Skip to footer

Heart Pounding Romance

  • Home
  • About
  • Books
  • Blog
  • Newsletter
  • Contemporary Romance
  • Chick-Lit
  • Paranormal Romance

What's Mia Making

A Royal Cake

December 6, 2024 by Mia Fox Leave a Comment

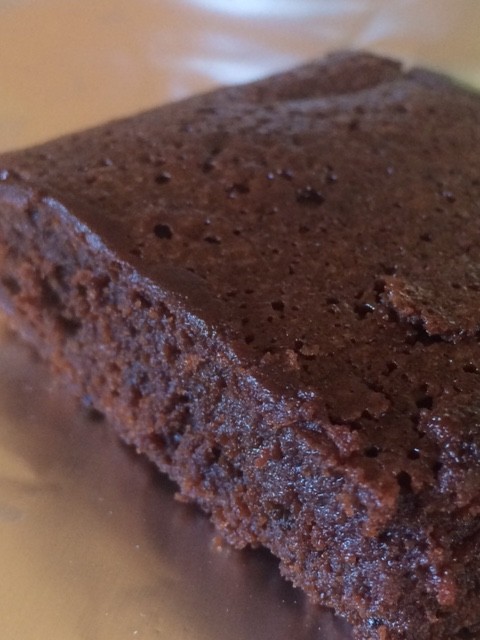
When Prince William married Princess Kate, he asked the Royal chef to make his grandmother, Queen Elizabeth’s, favourite… a chocolate biscuit cake.

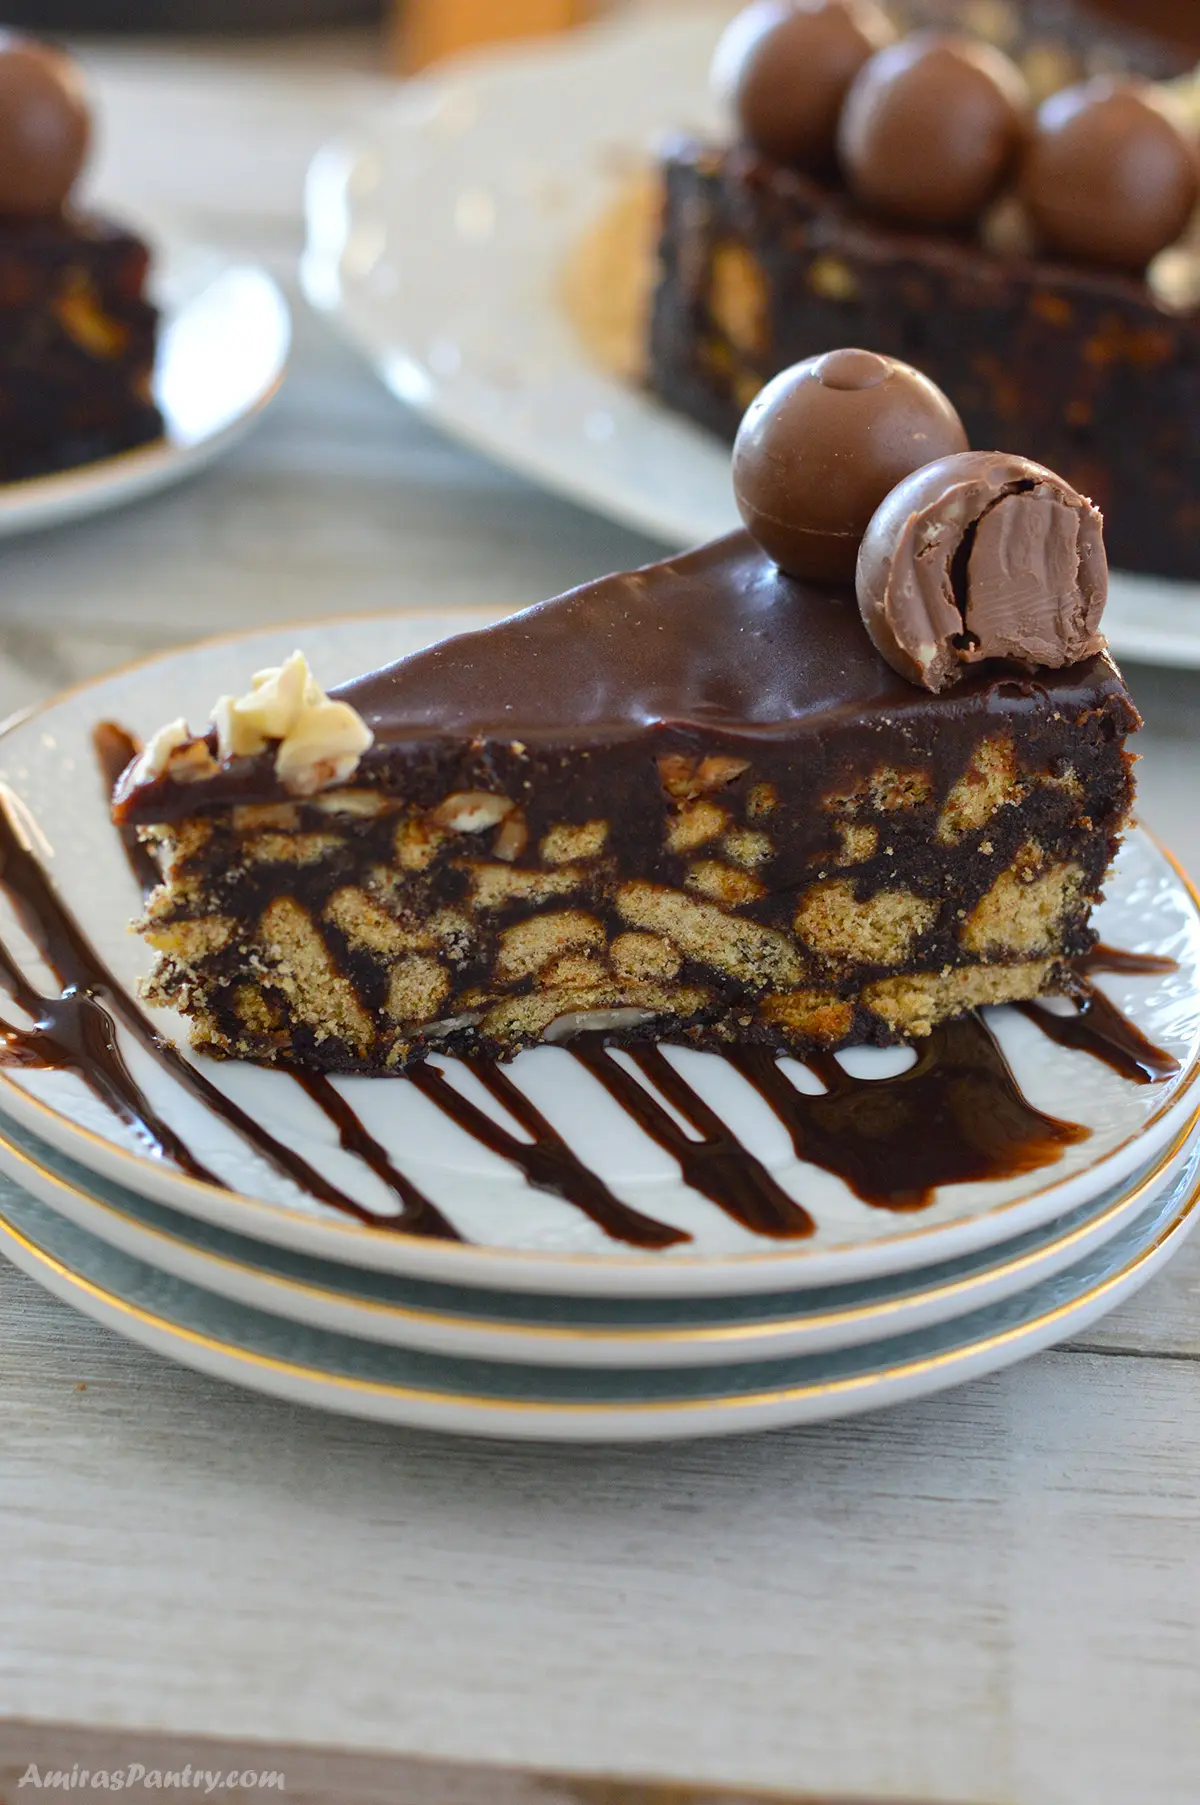
The groom’s cake is different from the light in texture wedding cake. This one is a rich, chocolate cake that incorporates biscuits (the English version of a crisp cookie). I also love adding toasted hazelnuts. The recipe is simple, but the outcome is magnificent, making it a perfect holiday recipe to add to your family’s table.

Chocolate Biscuit Cake (modified from the Royal Chef) 
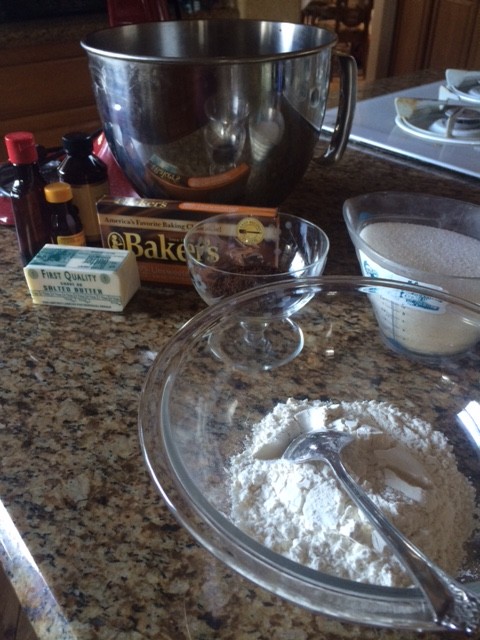
Ingredients:

  • 4 ounces of semi-sweet chocolate for the cake base
  • 8 ounces of semi-sweet chocolate for the topping
  • 4 ounces of sugar
  • 4 ounces of unsalted butter (softened)
  • 1 egg (beaten)
  • 8 ounces of McVities rich tea biscuits (available on Amazon if you can’t find them at a local store)
  • 8 ounces of hazelnuts (toasted, crushed, and optional)
  • butter for greasing your pan
  • Special Equipment: A springform pan

Instructions:

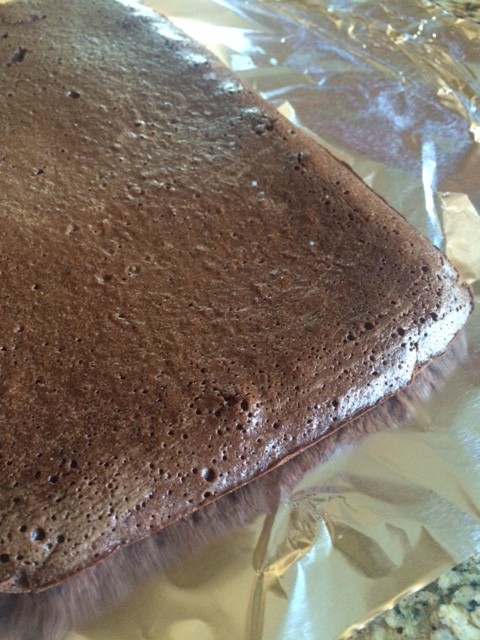
  • Grease a 6” by 2 1/2” springform pan and place on a tray with a sheet of parchment paper underneath.
  • Break the tea biscuits into pieces (about 4-5 breaks per cookie) and set aside.
  • Toast the hazelnuts. Place in a ziplock bag and break into pieces by pounding with a rolling pin or something handy.
  • Cream and butter and sugar.
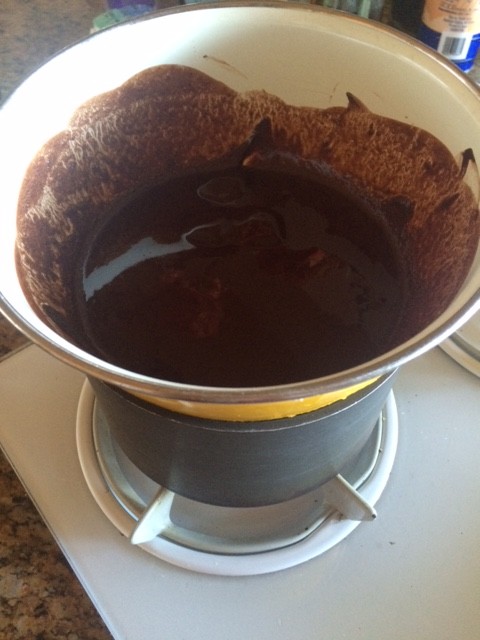
  • Melt the 4 ounces of chocolate and add to the butter mixture. Allow to cool.
  • Add the egg to the mixture. (Make sure the mixture is cooled so your egg doesn’t cook.)
  • Fold in the biscuits and nuts (if you’re using them) until they are thoroughly coated.
  • Spoon the mixture into your pan. Chill in the refrigerator for at least three hours.
  • Remove the ring from the springform pan.
  • Melt the 8 ounces of chocolate and pour over the cake. (This is why you want the pan on top of parchment paper.)
  • Allow the chocolate to set. Refrigerate if necessary. Cut and serve.

Thank you to Amira’s Pantry for this amazing image.

Facebooktwitterredditpinteresttumblrmail

Filed Under: Blog, What's Mia Making Tagged With: British Royalty, chocolate biscuit cake, Prince William, Royal Wedding

Blueberry Overdrive Arrives and with it Blueberry Lemon Loveliness

June 16, 2020 by Mia Fox Leave a Comment

This past week, my family’s quest to eat healthy or more specifically, avoid high fat and carbs in favor of anti-oxidant foods, erupted in a mountain of blueberries that turned to blueberry lemon loveliness.

I took my usual trip to the market and decided to buy the largest box of blueberries. Buying extra made sense because we had been popping them plain as snacks, putting them in yogurt parfaits in the morning, and serving them with vanilla flavored almond creamer (just a drop, I swear) for dessert. But then… it was a case of blueberry overdrive.

Blueberry Overdrive Arrives

My husband passed a fruit stand on the side of the road and detoured to make a stop. He didn’t know that I had gone to the market just an hour prior. He also decided to buy extra blueberries. I had thought that the pack I purchased was large, but what he brought home put my Trader Joe’s box in its place. His purchase was the muscle box of blueberries… big enough to feed a family for a week. At least, that was his intention.

Best-Laid Plans

The saying goes, “The best-laid plans of mice and men often go awry.” We just had too many blueberries. I’m not a wasteful person and I knew that there was no way we could eat this many before some of them started to spoil. It was time to bake! I was thrilled because frankly, after writing, baking is my number one way to relax. There’s something about churning the butter with the sugar, adding the eggs, one by one, and smelling the scent of vanilla as I drizzle in that delectable teaspoon of extract.

Return to Carb Land

I looked at my husband and explained that I had to bake. I just had to. He raised his eyebrows knowing that I had been looking for an excuse for over a week. In truth, I think he was happy. He always says my baking was partly responsible for him falling in love with me. I told the kids that we should celebrate a half birthday since nobody in my family has a June birthday. And then, ta-dah… blueberry overdrive arrives and I had a reason to embrace my love of butter and flour recipes again.

Blueberry Lemon Loveliness

I gained inspiration from Tieghan Gerard’s Half Baked Harvest blog when I created Blueberry Lemon Loveliness. Her version has a few difference in the ingredients and it’s baked in a loaf pan, but I can’t use the word loaf to describe this because it’s not a lazy loaf. This delicious any time snack tastes likes it’s jumping for joy. Here it is …

Ingredients:

1 stick (8 tablespoons) butter (softened)
1/2 cup sugar
2 tablespoons lemon juice (add the zest of the lemon for an extra burst of flavor)
1/2 cup vanilla yogurt
1 teaspoon vanilla extract
2 large eggs
1 1/2 cups all purpose flour
1 1/2 teaspoons baking powder
1/2 teaspoon kosher salt
1 heaping cup fresh blueberries
3 tablespoons any variety of fruit jam

For the glaze:
2/3 cup powdered sugar
3 tablespoons lemon juice

Instructions:

1. Preheat your oven to 375 degrees F. Grease a 9×5 inch pan.

2. Mix together the butter, sugar, eggs, vanilla, yogurt, and lemon juice.

3. In a separate bowl, combine the flour, salt, and baking powder. Toss the blueberries within this mixture. (Did you know that coating the blueberries in flour helps them to float in the batter rather than sink to the bottom of the pan?)

4. Gently fold the flour mixture into the butter mixture.

5. Spoon half the batter into your pan. Smooth a layer of jam on top of the batter, then top with the remaining half of batter.

6. Sprinkle some extra sugar on top of the Blueberry Lemon Loveliness and tell it how beautiful it looks. Everyone, even baked goods, needs some positive accolades from time to time.

7. Then bake for 55 minutes, or until the center isn’t wiggly jiggly. Remember, it was a muscle box of blueberries!

8. Make the glaze while the Blueberry Lemon Loveliness cools. Simply combine the lemon juice and powdered sugar.

9. Once it’s cool, take the cake out of its pan and spoon the glaze over the top, allowing it to drip down the sides.

Enjoy!

Facebooktwitterredditpinteresttumblrmail

Filed Under: Blog, What's Mia Making Tagged With: Blueberry Lemon Loaf, Half Baked Harvest, loaf cakes, recipes, What's Mia Making

Date Night Mushroom Risotto

May 11, 2020 by Mia Fox Leave a Comment

risotto
Date Night Mushroom Risotto

Date Night Mushroom Risotto is the perfect meal for a romantic dinner at home. If you’ve read my previous post about the ultimate date food, it ticks all the boxes. First and foremost, it’s delicious. It’s also impressive, easy to eat, and won’t leave you with bad breath or bloating. Most important, it’ll leave you wanting dessert.

Ingredients

Here’s your list of ingredients:
1 carton low-sodium chicken or vegetable stock
1 tbsp. extra-virgin olive oil
1 onion, finely chopped
2 tbsp. butter
2 cloves garlic, crushed
2 cups sliced mushrooms
1 bay leaf
4 sprigs thyme, leaves removed
salt and pepper to taste
1 3/4 cups arborio rice
1/2 cup white wine
1/2 cup freshly grated Parmesan
3/4 cup frozen peas, thawed
2 tbsp. chopped fresh parsley

Directions:

These are the steps to making your Date Night Mushroom Risotto
  1. In a medium saucepan over medium heat, bring chicken stock to a simmer. Reduce heat to low.
  2. In a large pot or Dutch oven, heat oil. Add onion and cook, stirring often, until translucent, about 5 minutes. Next, add 1 tablespoon butter, garlic, mushrooms, bay leaf and thyme. Cook until the mushrooms have softened and are golden, about 4 more minutes, then season with salt and pepper. Remove mixture from the pot.
  3. Continue by melting remaining tablespoon butter in the pot and add the arborio rice, stirring quickly. Cook until the grains are well-coated and smell slightly toasty, about 2 minutes. Add the wine and cook until the wine has mostly absorbed.
  4. With a ladle, add about 1 cup of hot stock. Stirring often, cook until the rice has mostly absorbed liquid. Add remaining stock about 1/2 cup at a time, continuing to allow the rice to absorb each addition of stock before adding more. Stir often and cook until the risotto is al dente and creamy, not mushy. (You might not need all the stock.)
  5. Add the mushroom mixture back into the rice.
  6. Finally, stir in Parmesan and peas then garnish with parsley. Serve warm.

Best Practices

Before launching into cooking, here are some “best practices” to keep in mind when making Date Night Mushroom Risotto.

1. Use hot stock.

Before starting, heat your stock in a separate pan over medium heat. Hot stock will help keep the temperature from dropping each time you add it to the rice. The faster your rice absorbs the liquid, the better your risotto texture will be.

2. Keep stirring.

In “Finding Nemo” Dory always said, Just keep swimming.” Swap that little song for “just keep stirring” and you’ll end up with perfect risotto. Arborio rice is very starchy, so the chances of burning increases. Do not leave it for even a second. Just keep swimming… err stirring.

3. It’s all in the cheese.

You’ll notice that there aren’t a lot of ingredients. Therefore, the quality and flavor of each one is important. Fresh herbs. Fresh cheese. Parmesan from a can doesn’t belong in your date night mushroom risotto.

The whole point of this blog is to offer recipe advice for a sure-fire romantic meal. This is it! Put in the time before he arrives and all you have to do is heat up the risotto. Then, you can heat up the rest of the evening as well.

Facebooktwitterredditpinteresttumblrmail

Filed Under: Blog, What's Mia Making Tagged With: #dating, #MondayBlogs, date food, dating advice, mushroom risotto, recipes, What's Mia Making

Better than Starbucks Mocha with Chocolate and Liqueur

February 4, 2019 by Mia Fox Leave a Comment

Turn the ordinary Starbucks mocha into one that is truly magnificent with chocolate ice cream and liqueur.

Imagine a better than Starbucks Mocha…With the cold weather hitting all of us, to me there’s no better way to get warm and cozy than with this delicious drink. It emulates the winter months by combining a chilly scoop of chocolate ice cream floating in a warm bath of chocolate. It’s like coming indoors after playing in the cold.

I know you can just go down to your local Starbucks, but this recipe is oh so much better. (To the Starbucks gods…please don’t get offended. I’ll still visit you regularly.)

A small aside note about this drink…if you plan to stay home, there are options for a wee bit of alcohol that ups the taste and warmth factor. Only use if you’re going to drink responsibly.

Simply combine the dry ingredients into the wet, heat slowly over low heat until warm and combined. Add any optional ingredients. Add a scoop of ice cream to create an amazing effect of cold against warm that turns the everyday Starbucks mocha into your own version that is truly a magnificent melting mocha.

  • 4 tablespoons unsweetened cocoa
  • 4 tablespoons sugar
  • 1/2 cup vanilla almond milk
  • 1/2 cup half and half
  • 3 T. coffee
  • 2 tablespoons Kahlua (optional)
  • 2 tablespoons Baileys Irish cream (optional)
  • 1 scoop chocolate ice cream
  • shaved chocolate (for garnish)
Facebooktwitterredditpinteresttumblrmail

Filed Under: Blog, What's Mia Making Tagged With: bailey's irish cream, chocolate ice cream, kahlua, mocha

Create a Work Free Zone

April 4, 2016 by Mia Fox Leave a Comment

candel-light

When you get home do you immediately start the conversation with your partner by rehashing what happened at work? And if so, do you ever wish that your relationships could be more like the ones in the romance novels you read? Maybe it’s time to create a work free zone?

It’s not that you can’t talk about your work, you just need to know when. Let’s face it, work is not sexy. Even if you’re a Victoria’s Secret model, you still have to show up on time, deal with cranky co-workers (probably more than most people!) and be accountable. Talking about work when you first get home is probably the most definitive way to ensure that you don’t have a romantic evening.

But I want to share my day with my partner, you think to yourself.

Okay then. Here are some tips for how to balance romance with rehashing the day’s events:

  • Go in for the hug.

Don’t underestimate the power of non-verbal communication. If you lean on your partner, literally, he’ll sense that you might not have had a particularly stellar day. Your reward will be a warm hug in which you’ll feel loved, rather than stressed after telling about the co-worker who tried to back stab you.

  • Meal plan.

Another decidedly unsexy proposition, but the alternative is far worse. Take time to meal plan by buying ingredients on the weekend and using clever make-ahead recipes. If you want to go so far as to have dessert, try my special brownie recipe, which has an essence of coffee and almonds! The result will be that you come home to the inviting smell of dinner already cooked to perfection in your crock pot rather than having to scramble to put something together when you’re both tired.

  • Make an event out of dinner.

If you’ve followed both of the tips above then you and your partner should be feeling a bit more relaxed by the time you even sit down for dinner. You’ve held each other. You smell the food and it’s sure to be delicious. Pour yourselves a glass of wine. Set the table with nice dishes and candles (maybe get it ready before you leave in the morning). Now it’s time to sit down, relax, and enjoy each other’s company. There’s a fine line between sharing and over-sharing. Take advantage of your pre-planned candlelit dinner.

Put work on the back burner (ahem, after romance ensues). By the time you get around to talking about your work day, chances are you will have had time to put things into perspective and just maybe, you won’t even feel the need to vent.

Looking for more romance and recipe advice? Sign up for my newsletter and you’ll get this as well as quarterly giveaways.

Facebooktwitterredditpinteresttumblrmail

Filed Under: Blog, Romance Advice, What's Mia Making Tagged With: #MondayBlogs, romance, romance novels, time management, What's Mia Making

Brownies with Coffee and Almond Extract

September 30, 2015 by Mia Fox Leave a Comment

Coffee Almond Brownies

These Brownies with Coffee and Almond Extracts are the best brownies ever — I promise! So moist, delicate and easy to make, these aren’t your every day brownies. So, without further ado, let’s get to the recipe.

Ingredients:

brownie prep

5 oz. unsweetened chocolate

10 1/2 tablespoons butter

1 tablespoon instant coffee

4 large eggs

2 cups sugar

1 teaspoon vanilla

1/4 teaspoon almond extract

1 teaspoon salt

1 cup flour

Start off by pre-heating the oven to 450 degrees. Then, use a spray oil to lather up your 9 x 13 pan. Place a sheet of wax  paper on top of the oil so it stays in place and give that a little spray as well.

Place the butter and chocolate in the top  of a double boiler. If you don’t have a double boiler (like moi!) don’t fret. Just stick a bowl on top of a pot filled about 1/3 of the way with water. Boil the heck out of that water and cover the bowl.  Occasionally stir the chocolate and butter to melt,  but use a hot pad because that bowl isn’t the same as using a double boiler and it will toast your little fingers right off.

chocolate

While it’s boiling away, add the eggs to a mix master. (Do you think of cool rap music when I say “mix master”? Anyway, I digress…) Whip those eggs until light then slowly add the sugar and continue to beat on a medium speed for 15 minutes.  Yes, 15. It changes the consistency and this is important. At the end of the 15 minutes, add the vanilla and almond extracts.

Add the salt and coffee to the melted chocolate while it’s still fairly hot so the coffee melts. When the chocolate is completely cooled, add it to the eggs.  If it’s not cooled, you’ll end up with scrambled chocolate eggs and that’s an entirely different recipe!

Finally, add the flour to the chocolate mixture and blend until just combined. Pour into your prepared pan and immediately turn the oven down to 400 degrees. This is super important or your brownies won’t be little fudgy nuggets of amazingness. Bake for 21 minutes.

Invert your pan onto a cookie sheet and peel away the wax paper. Then invert again and allow to cool before eating…if you can!

brownieFacebooktwitterredditpinteresttumblrmail

Filed Under: Blog, What's Mia Making Tagged With: brownies, coffee almond brownies, coffee brownies

  • Page 1
  • Page 2
  • Page 3
  • Page 4
  • Go to Next Page »

Footer

Follow Me

  • Facebook
  • Pinterest
  • Twitter

Privacy Policy

Copyright © 2025 · Author Pro on Genesis Framework · WordPress · Log in